I have a few Amigas, and WHDLOAD is an amazing piece of software for running old games but you need a hard drive and plenty of memory to make it work properly. That generally means I am using my Amiga 600 (4MB fast RAM and 2MB chip) or my Amiga 1200 (also with 4MB fast RAM and 2MB chip), but I always think most games were made for the 500, so it’d be nice to run them on a real 500. Trying to get a 500 with a hard drive and enough RAM is sometimes tricky. For me, sdbox is a simple way of adding a hard drive (even though I am still booting from floppy), but extra RAM is trickier. In 2022 it’s not that hard to get one of the trapdoor expansions that uses a Gary adapter to go beyond 512K, but often you are maxing out at 2MB total or thereabouts. To go beyond that you really need a proper fast RAM expansion (or one of the more obscure older trapdoor expansions). So I thought I’d try to hack together a simple Fast RAM expansion using parts I already had.
I quite like working with DIP chips and have a decent stash of them. I also have some more modern DIY style computers that also use DIP chips and these DIY computers often have some interesting chips, and they are often socketed and I hardly use these computers so they are packed away unused for a long time. I realised that I had a few of the larger 512KB static RAMs (the AS6C4008 or 628512) on these DIY computers. Perhaps if I stole two of the 512KB static RAMs I could make a 1MB fast RAM expansion on the cheap. Sure, 1MB is not a lot, but I thought if this worked out, I could buy a few more and simply piggy back to at least get 2MB easily.
So this is the simple design I ended up with:
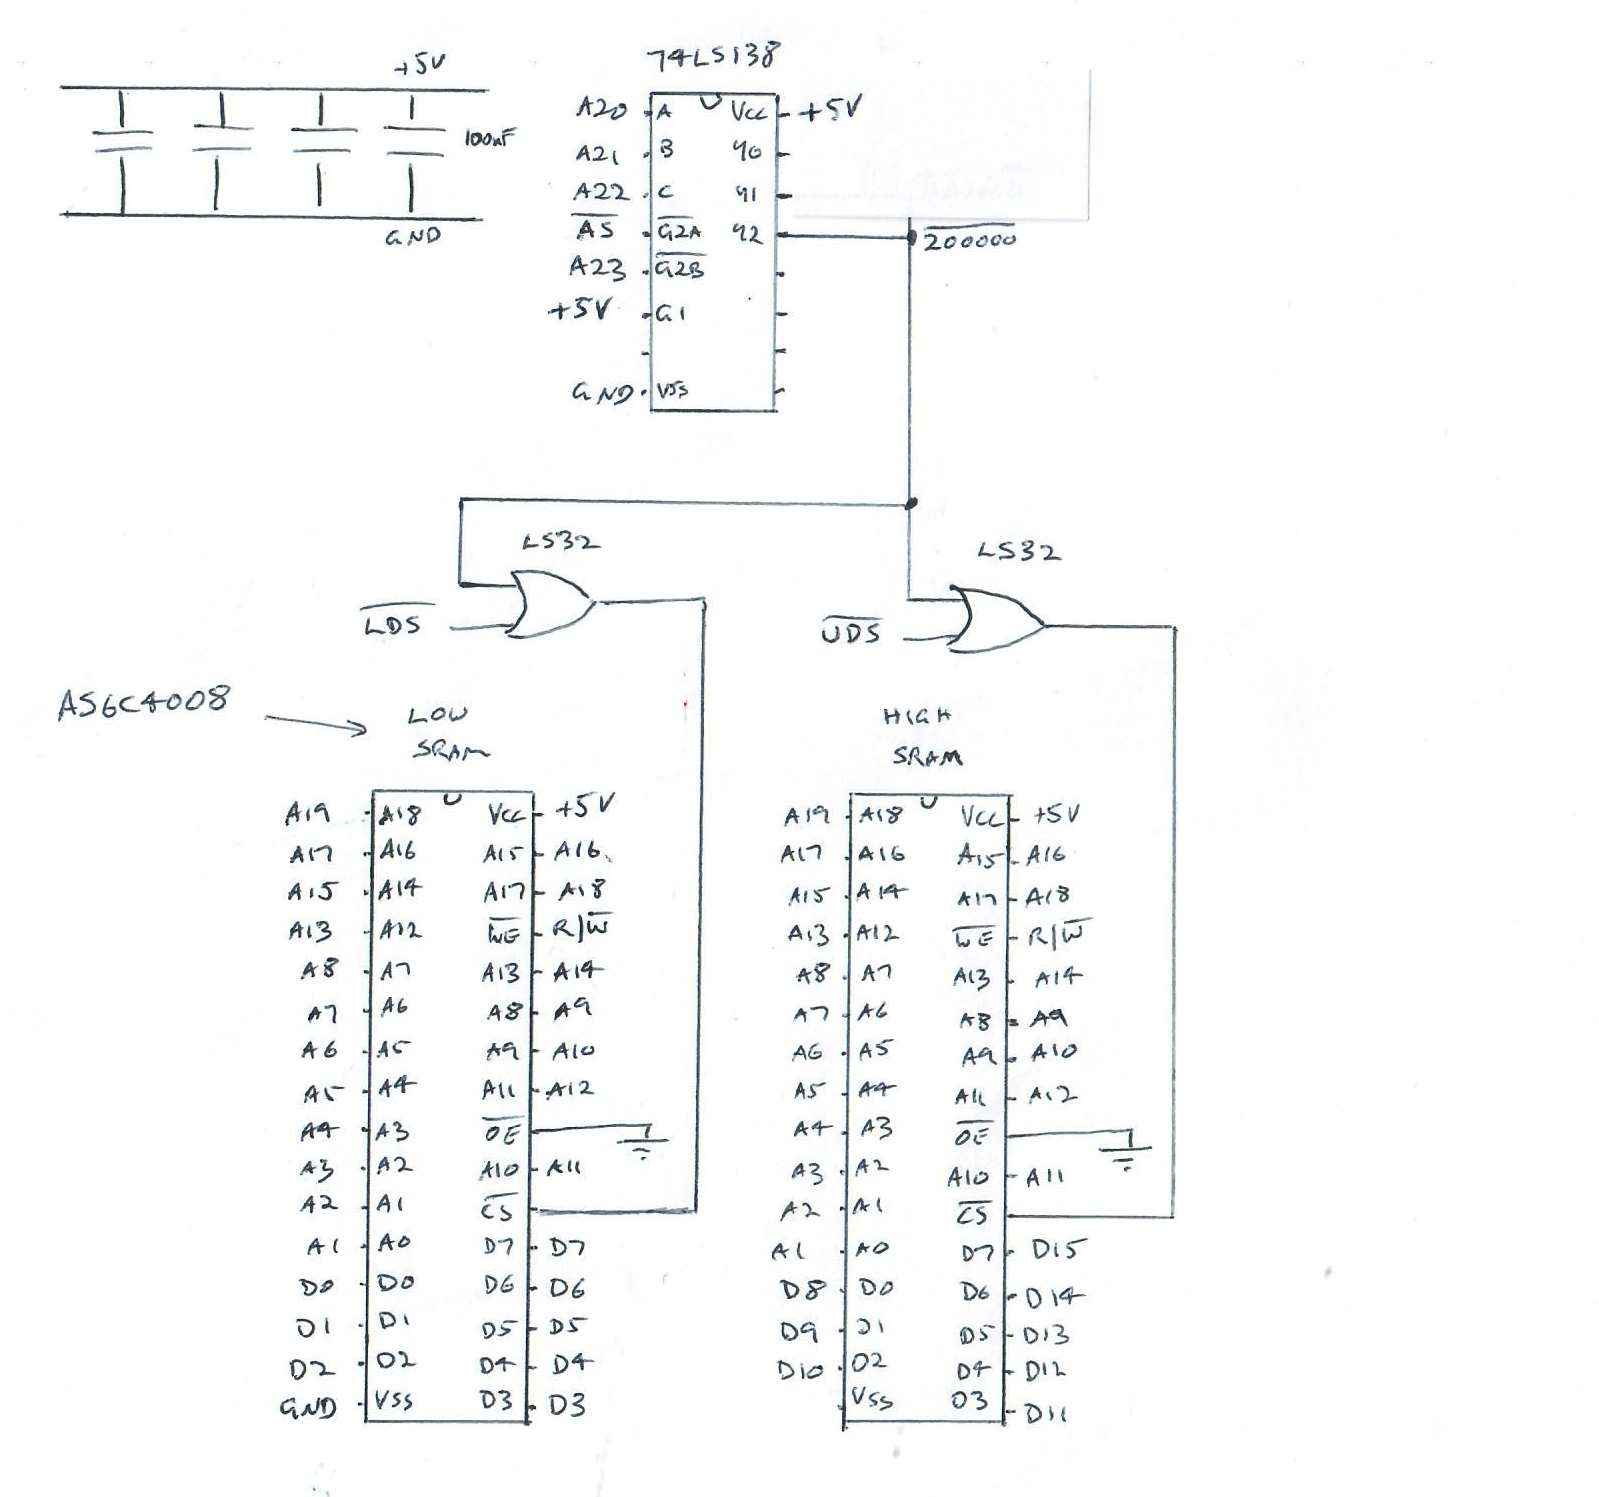
So I used two AS6C4008-55 chips (55ns which is way way faster than we need here). The 74LS138 can select one of the first eight 1MB blocks. We want our RAM to appear at 0x200000 so we’re using the Y2 output. If you bought another two AS6C4008 chips you would use the other two OR gates in the 74LS32 in combination with the Y3 output to put another 1MB at 0x300000.
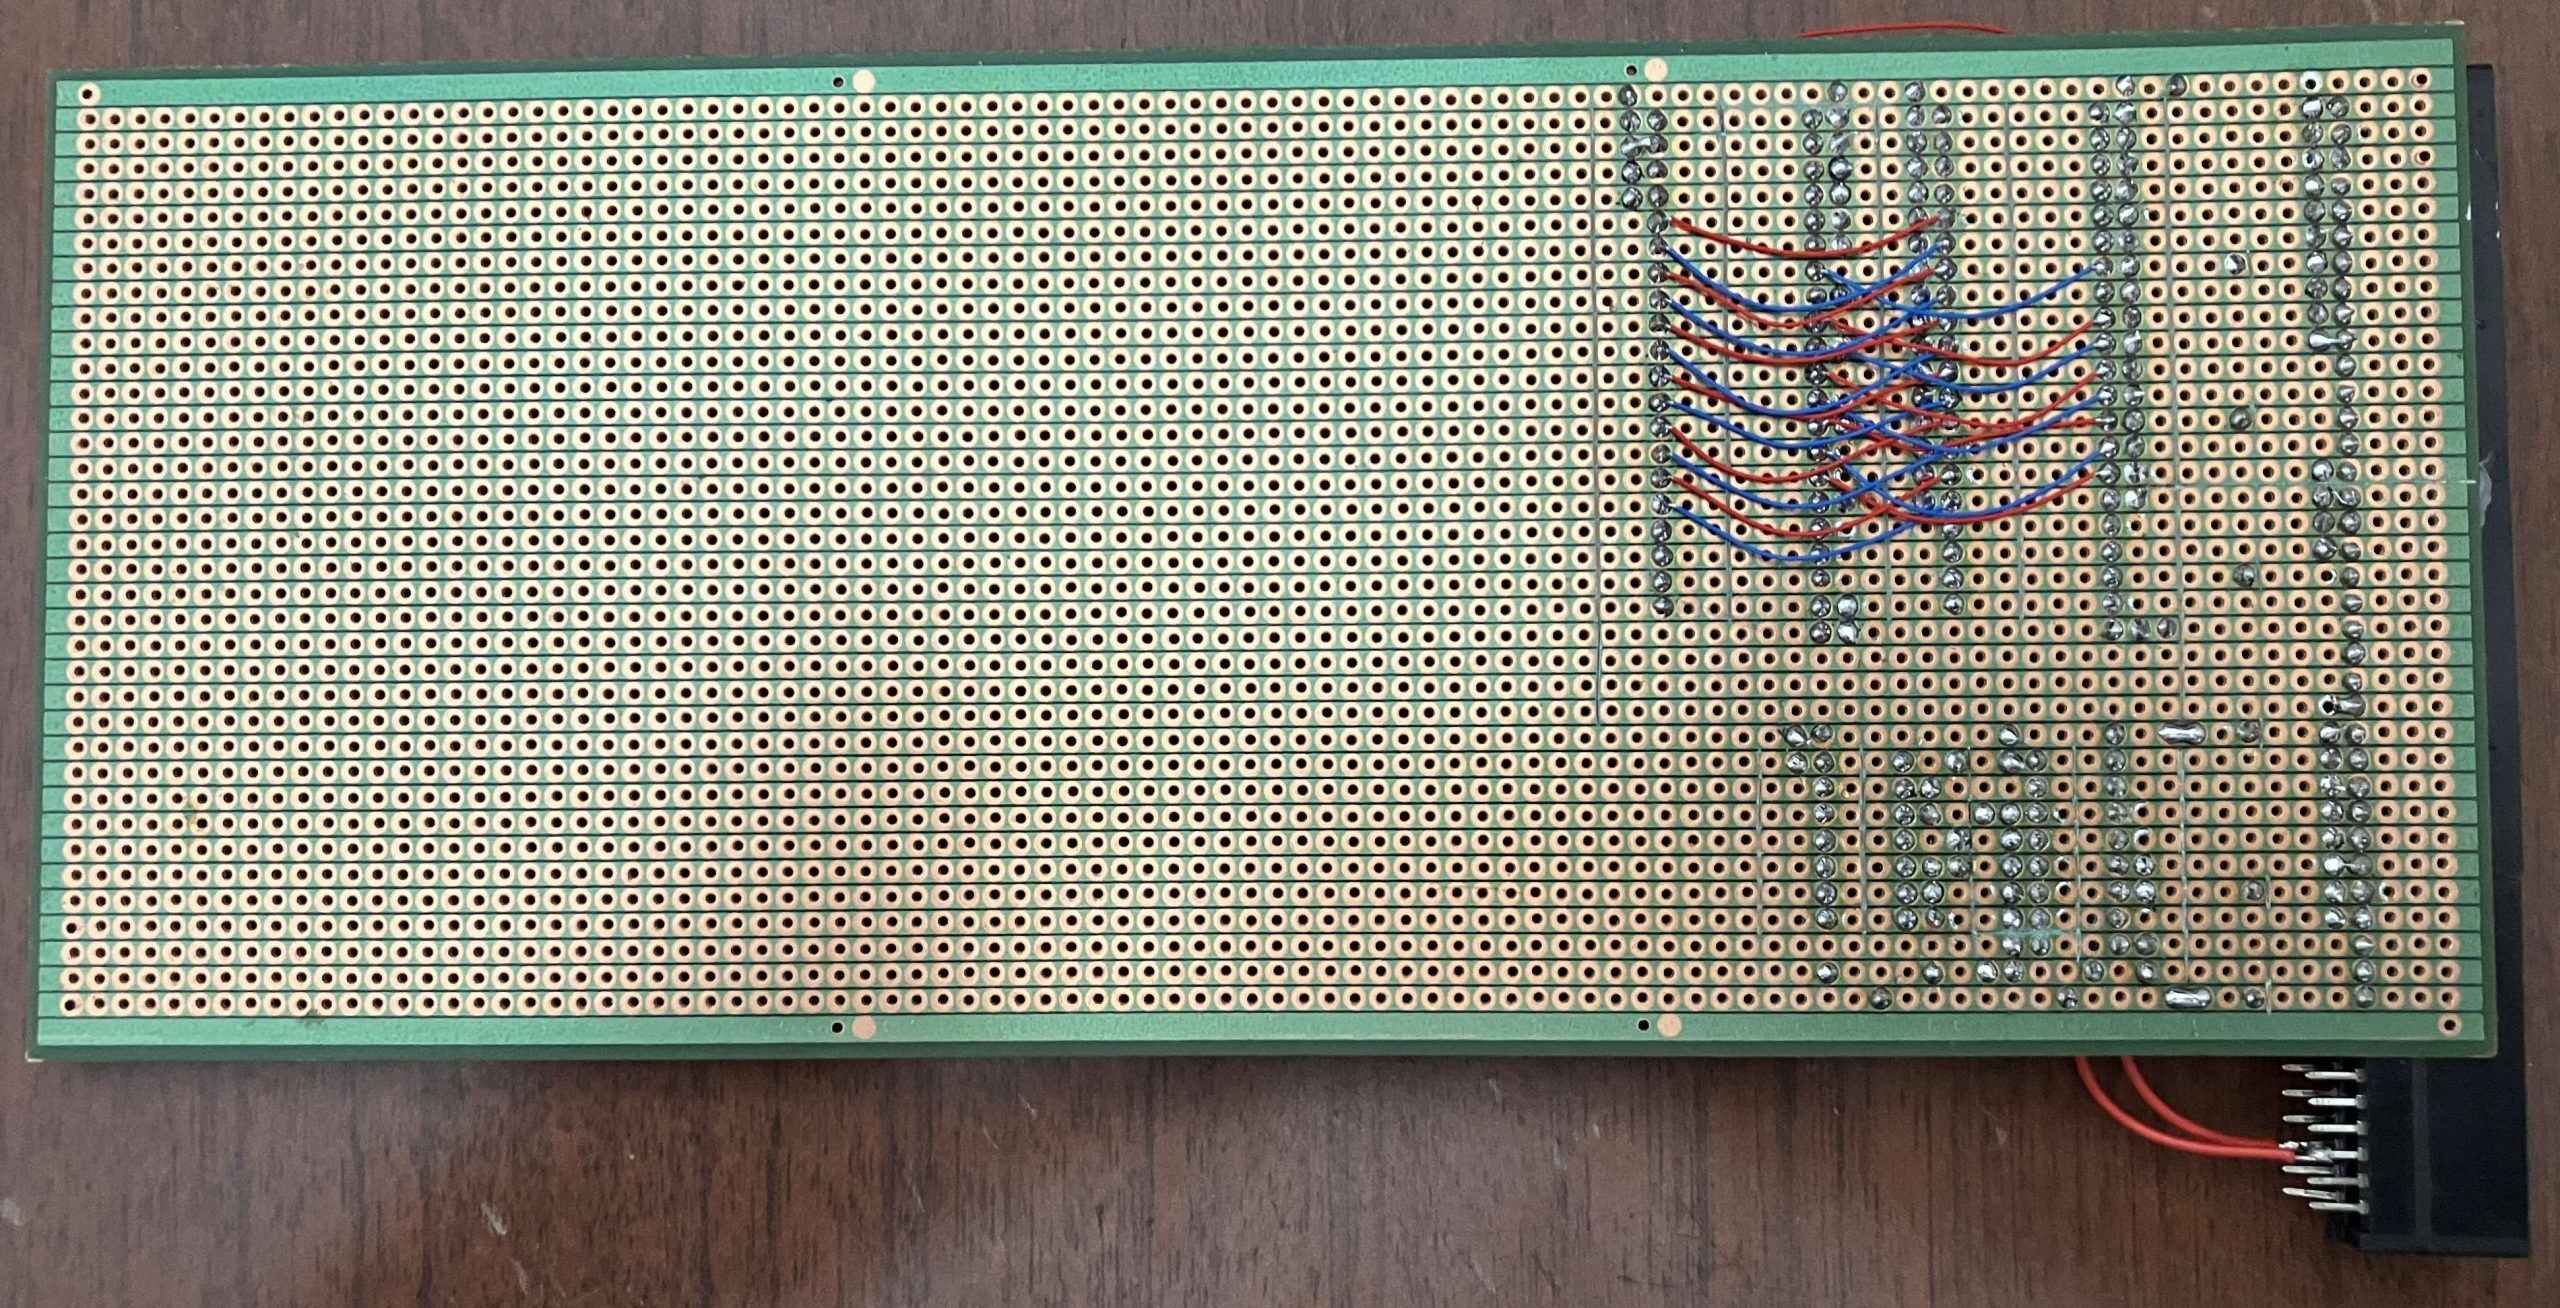
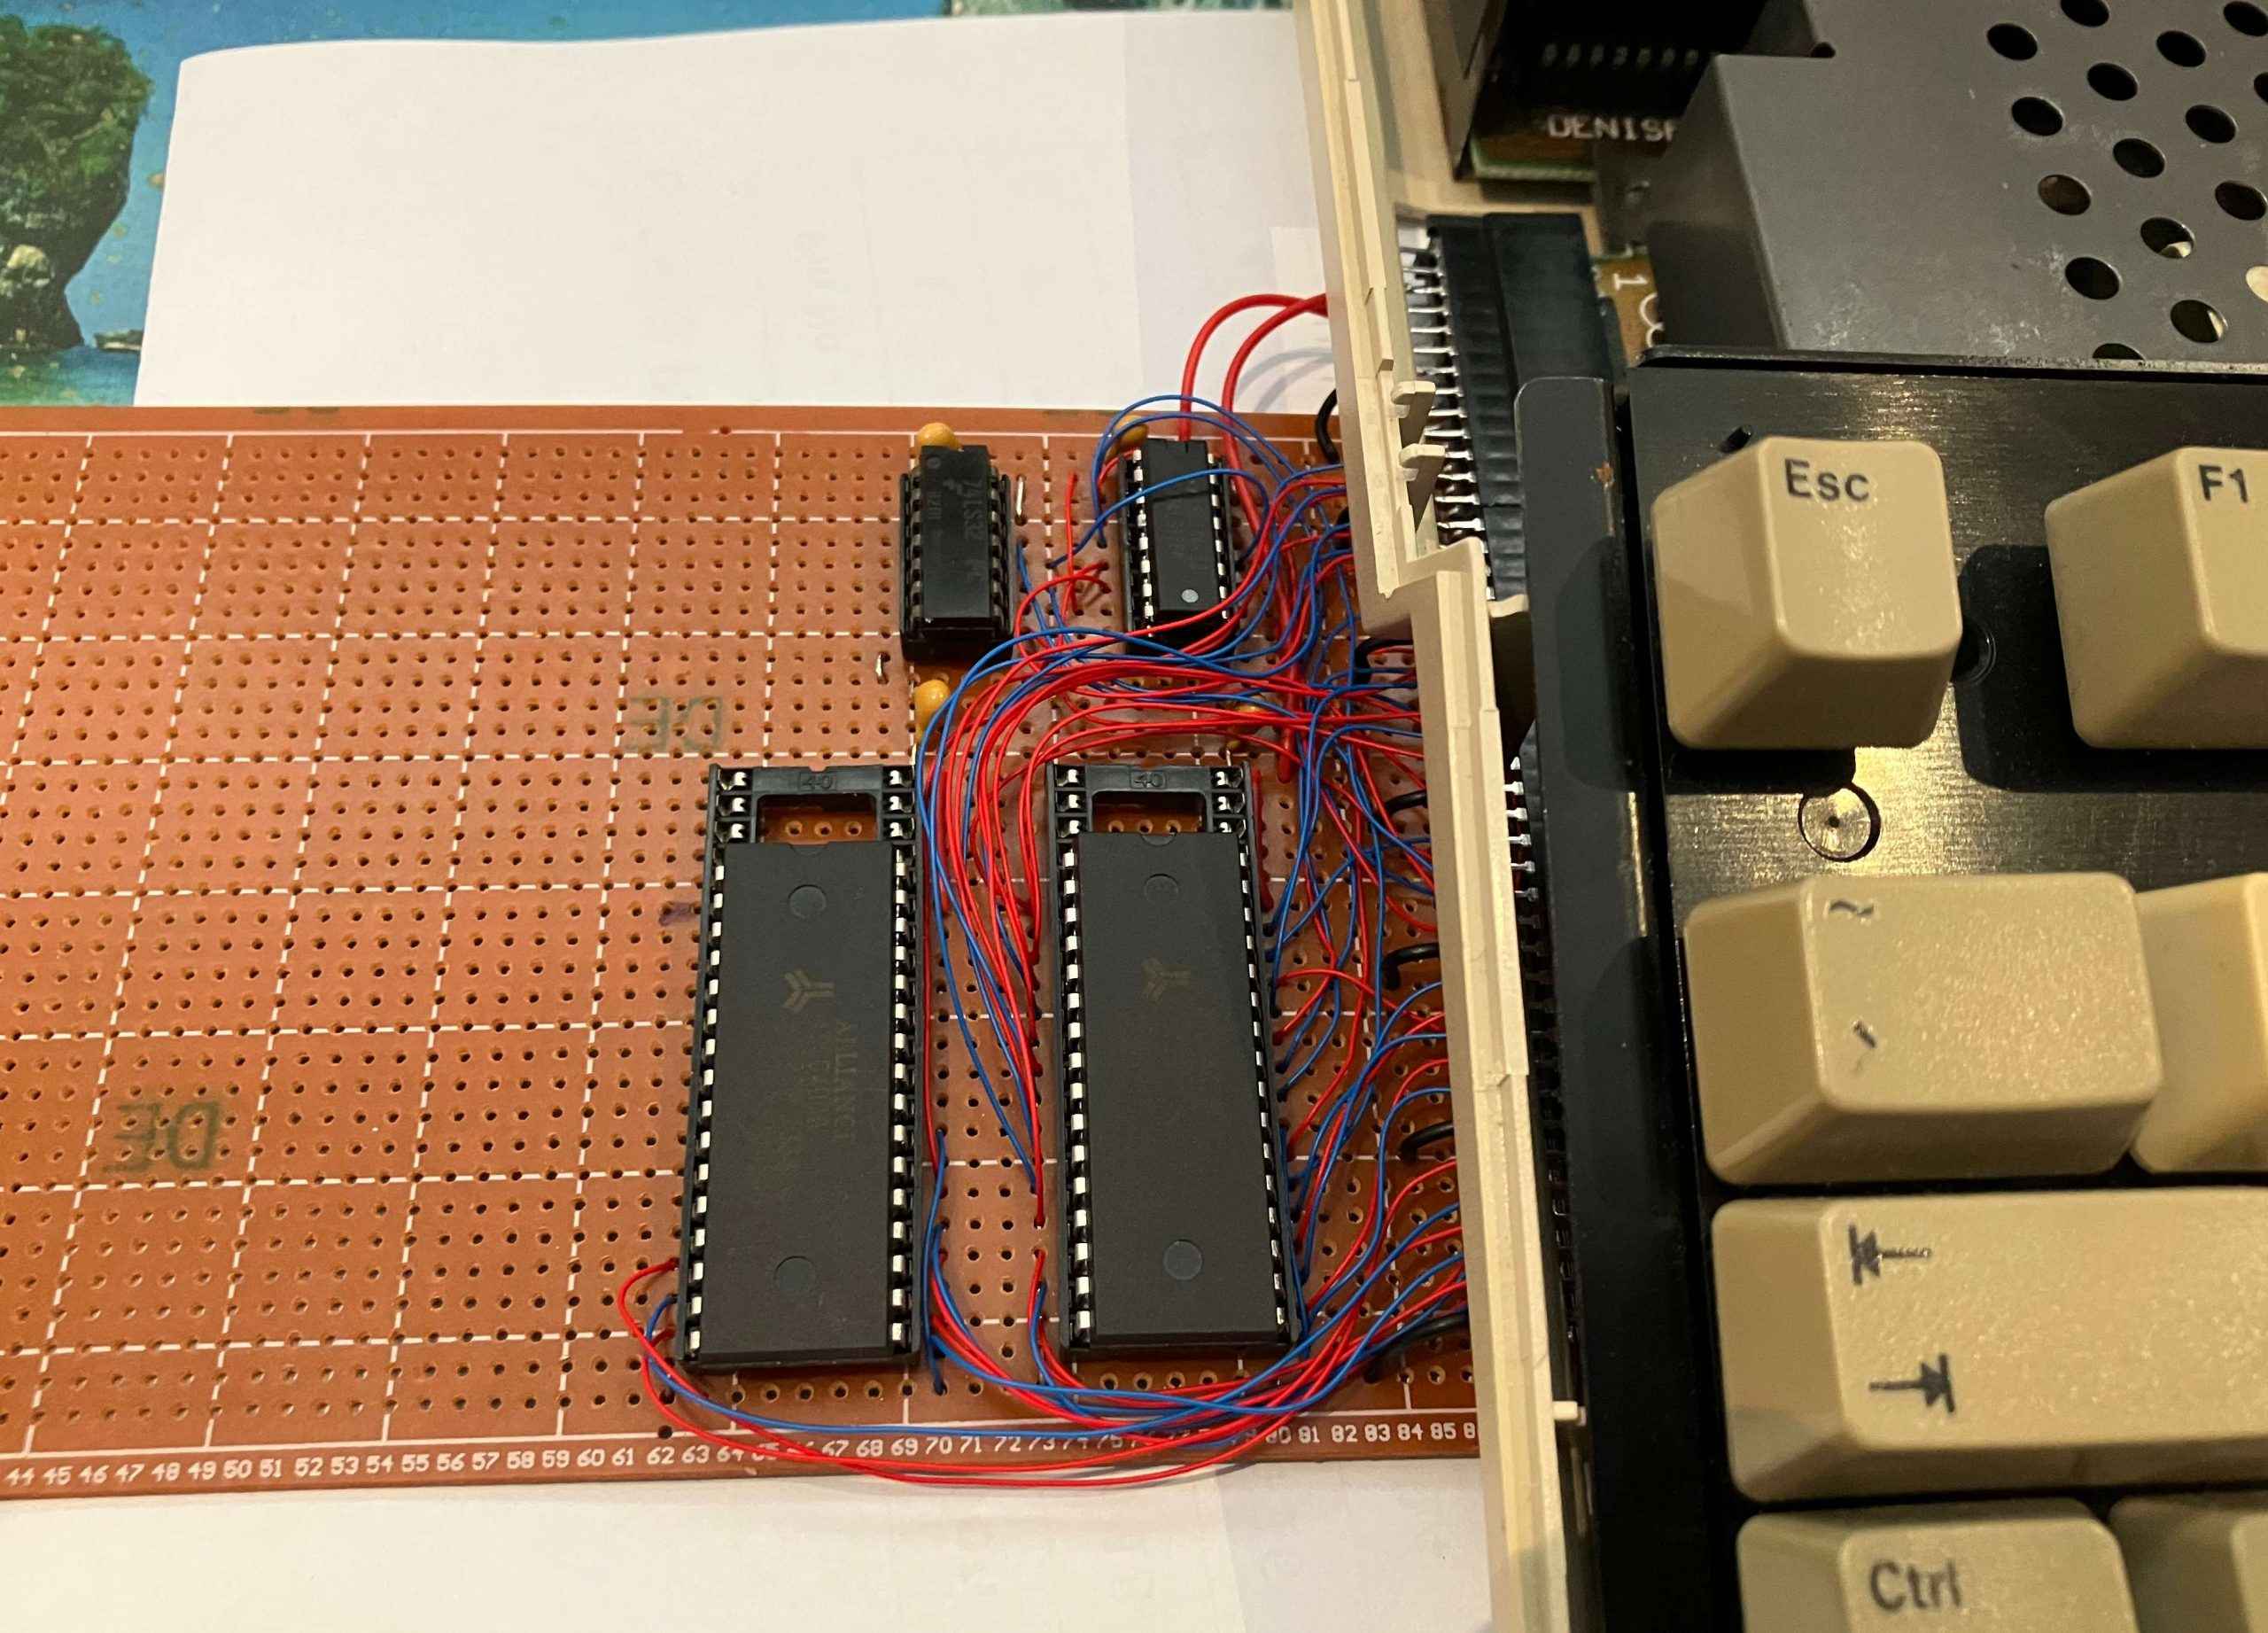
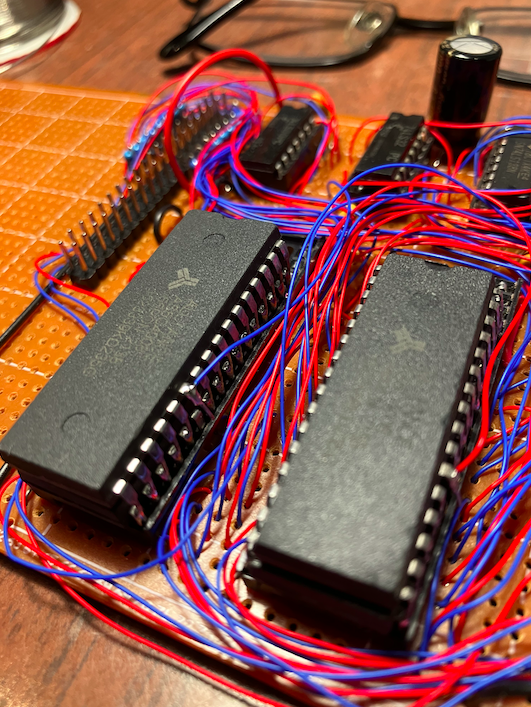
I just used some old proto/vero board I had. This is some ‘cheap proto board from China I bought ages ago’. I must admit I was disappointed that it had hairline shorts in a few places that were hard to track down. The Edge connector are two bits of some 16 bit ISA edge connectors I had, but cut to be an 86 pin connector. I tried epoxy gluing the two parts to the proto board but it didnt’ seem to stick that well. Then I used a heap of kynar wire to wire it all together. There’s a few 100nF capacitors on the board as well. I left the unused part of the proto board on in case I wanted to use it for something else later.
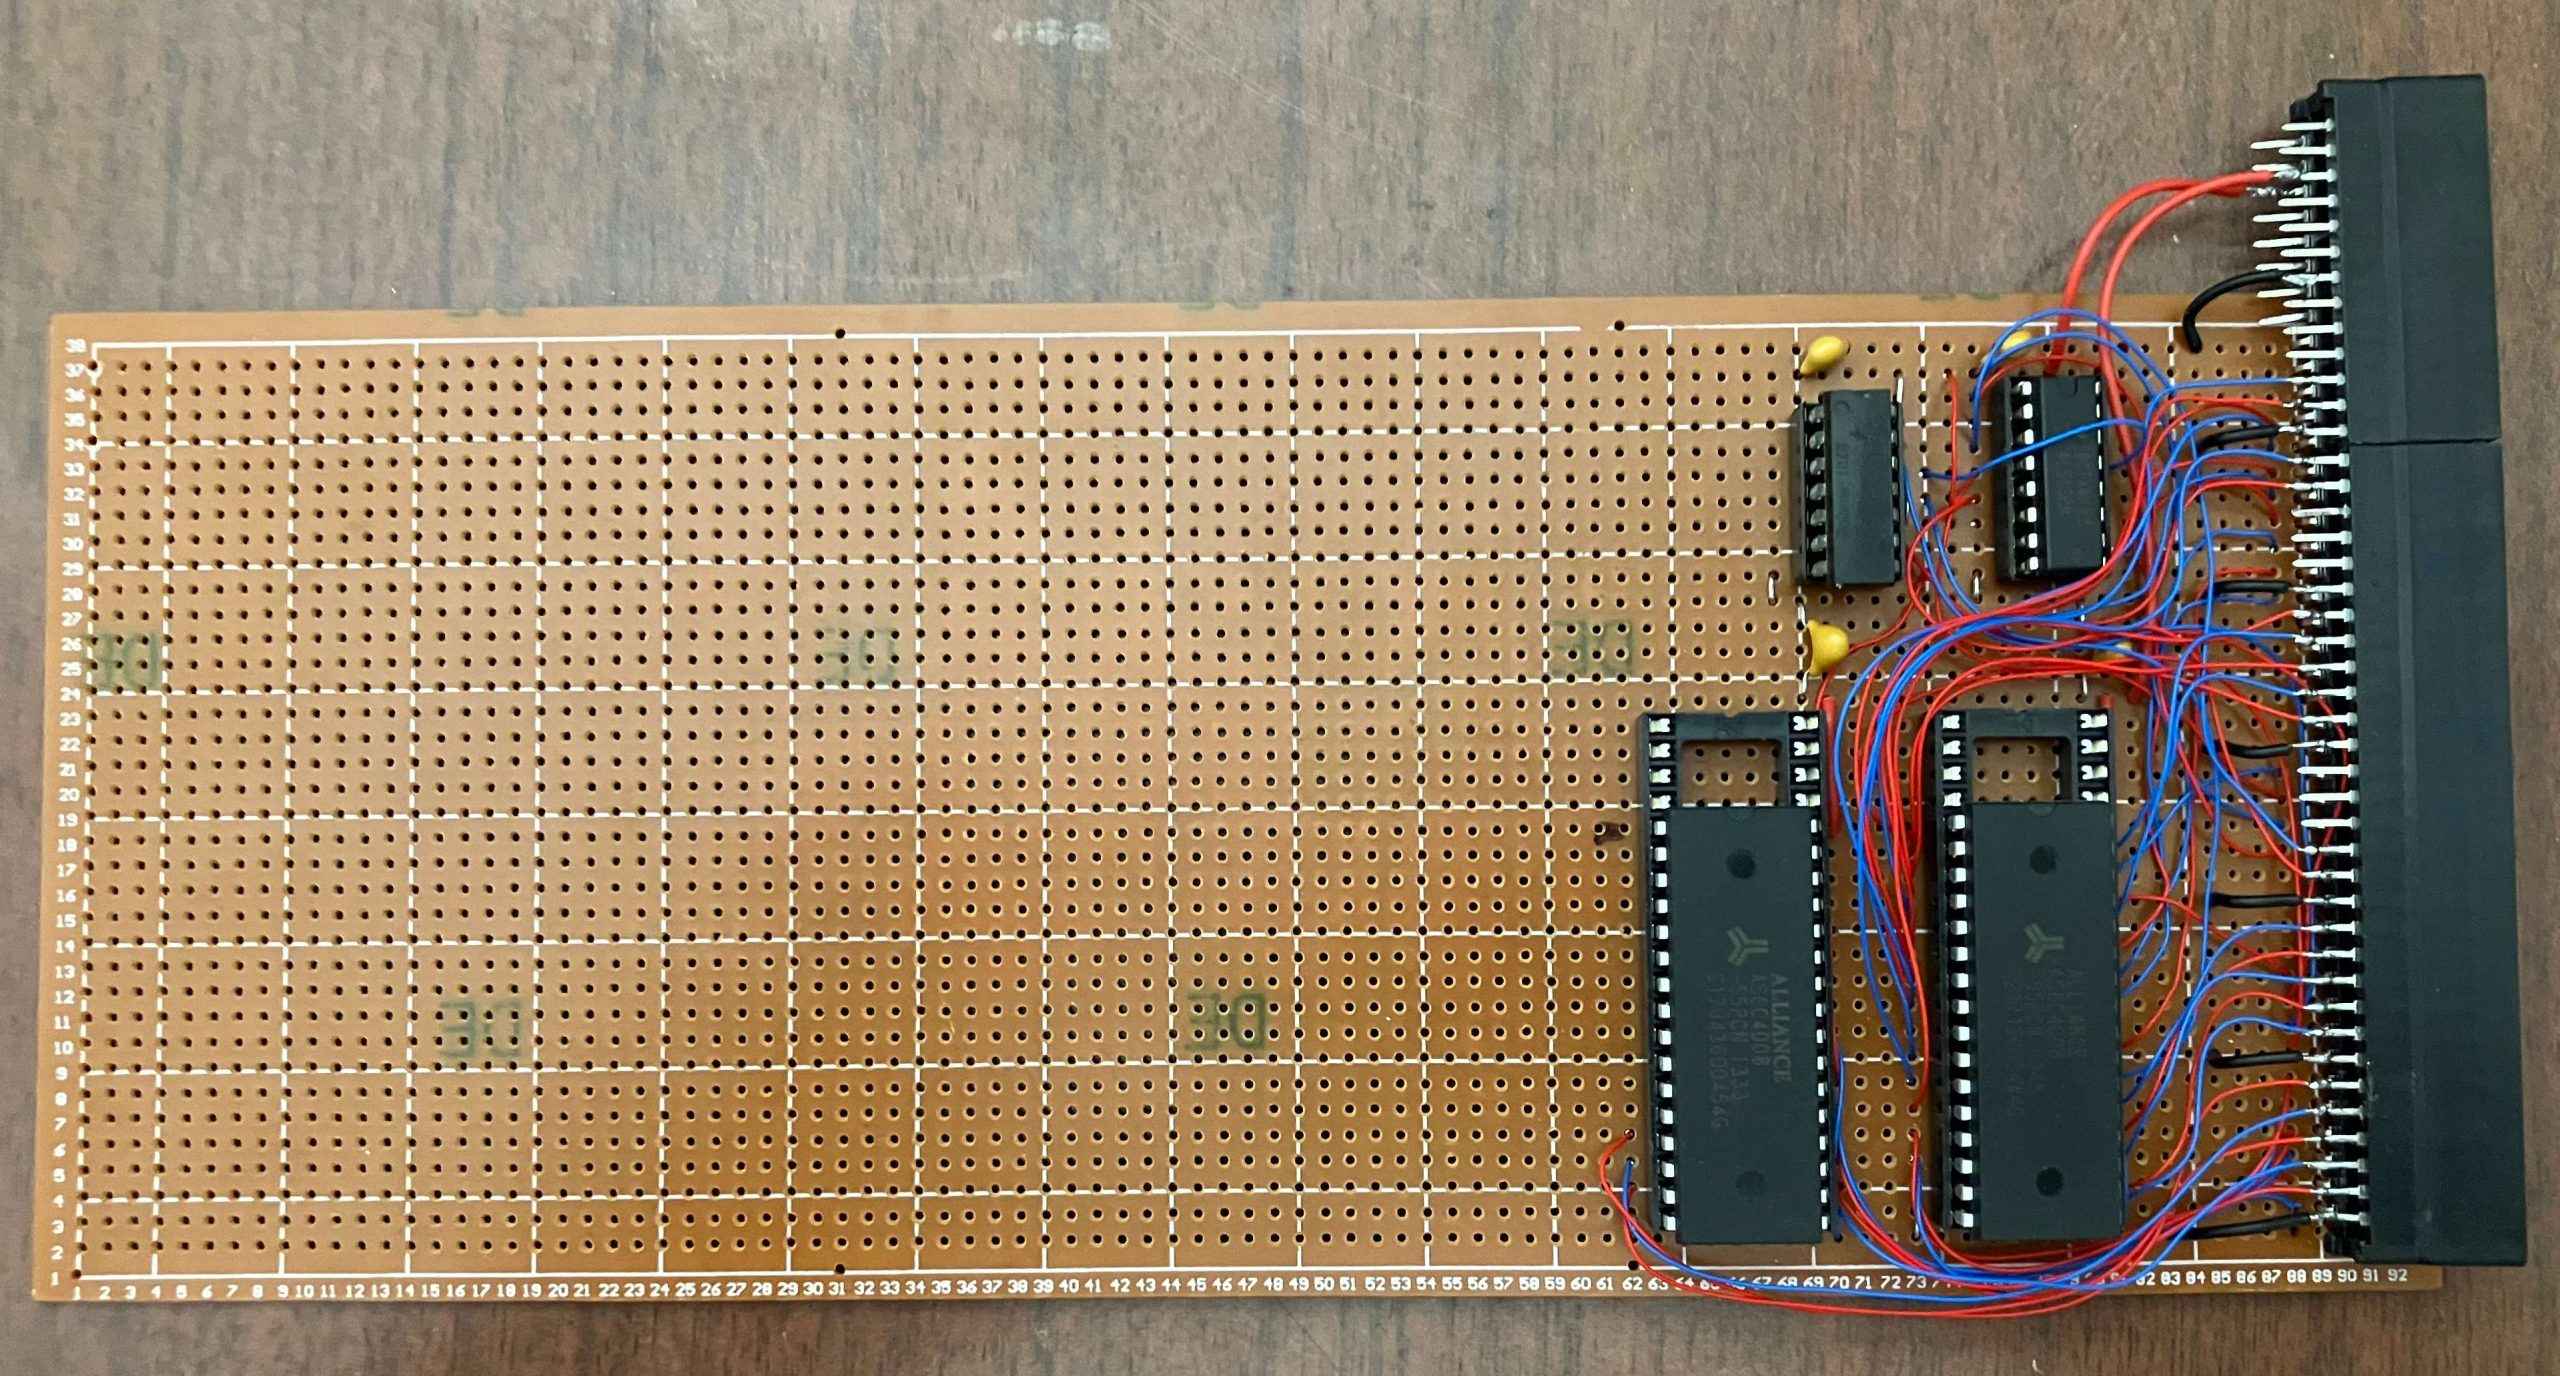
I used 40 pin sockets for the static RAMs. Sure I did not have 32 pin sockets handy, but I recently noticed there is another large capacity DIP based static RAM that would be good to try at a later date; the DS1270Y that comes in a 36 pin package. Its a 2MB static RAM (ie. 2Megabytes) in one of the weird boxy setups where it has a battery inside it. So potentially you could have a 4MB fast non-volatile RAM disk … maybe ??? The main downside of the DS1270Y is that it’s expensive. You could possibly get lots of other decent expansions for the same price as two of the chips. You would also need different address decoding logic (the simplest would be to map the 4MB from 0x400000 and change the 74LS138 logic to simply map 4 blocks of 4MB using A23 and A22)
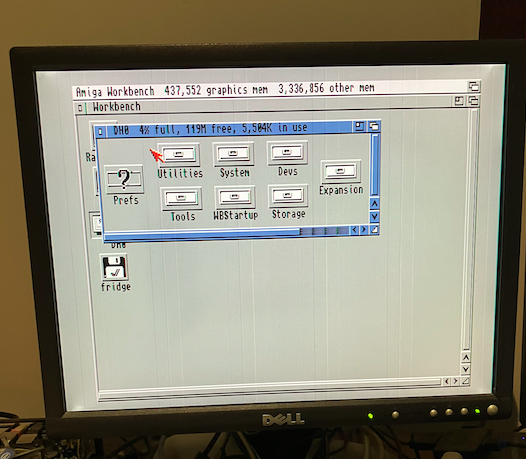
So a ‘proper’ fast RAM expansion would have additional ‘autoconfig’ logic so that the extra memory is auto added in at boot time. We don’t have any autoconfig logic so the easiest way is to just run AutoAddRAM with an appropriate config at boot time. Here’s me running avail before and after:
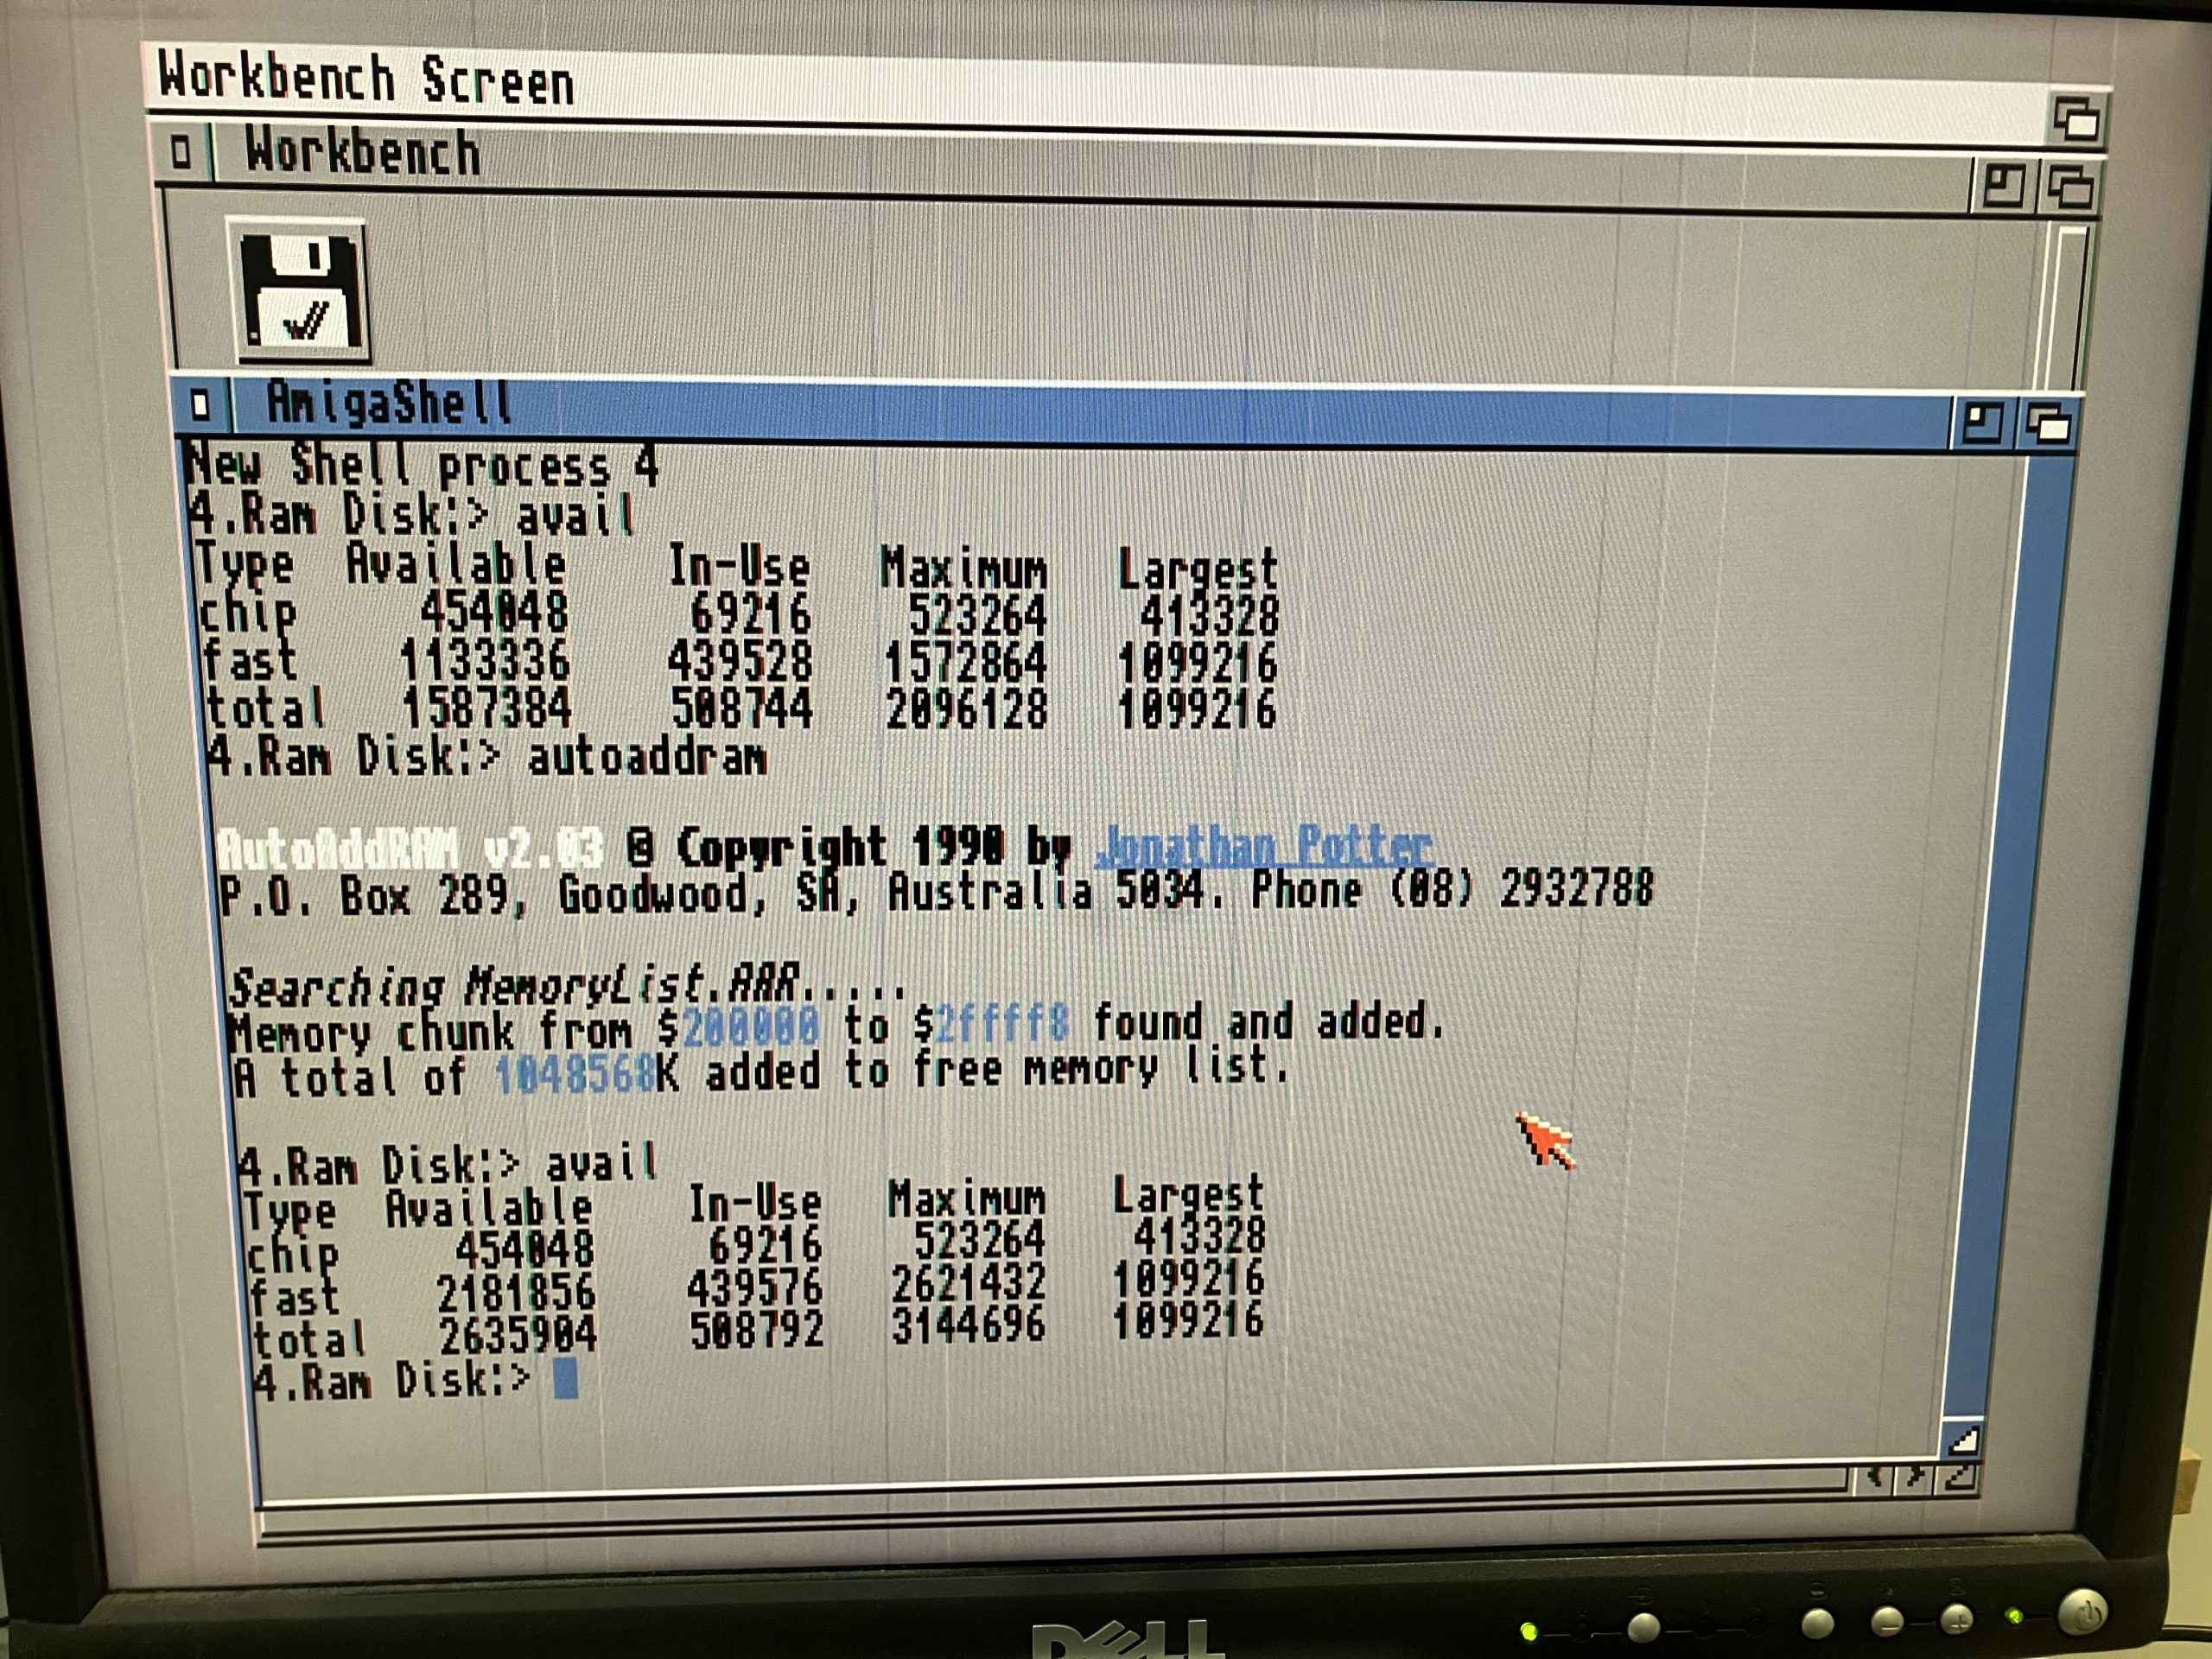
So this is on my rev 5 Amiga 500 with 512KB chip and 1.5MB trapdoor memory. So with my extra fast RAM expansion I now have 3MB total.
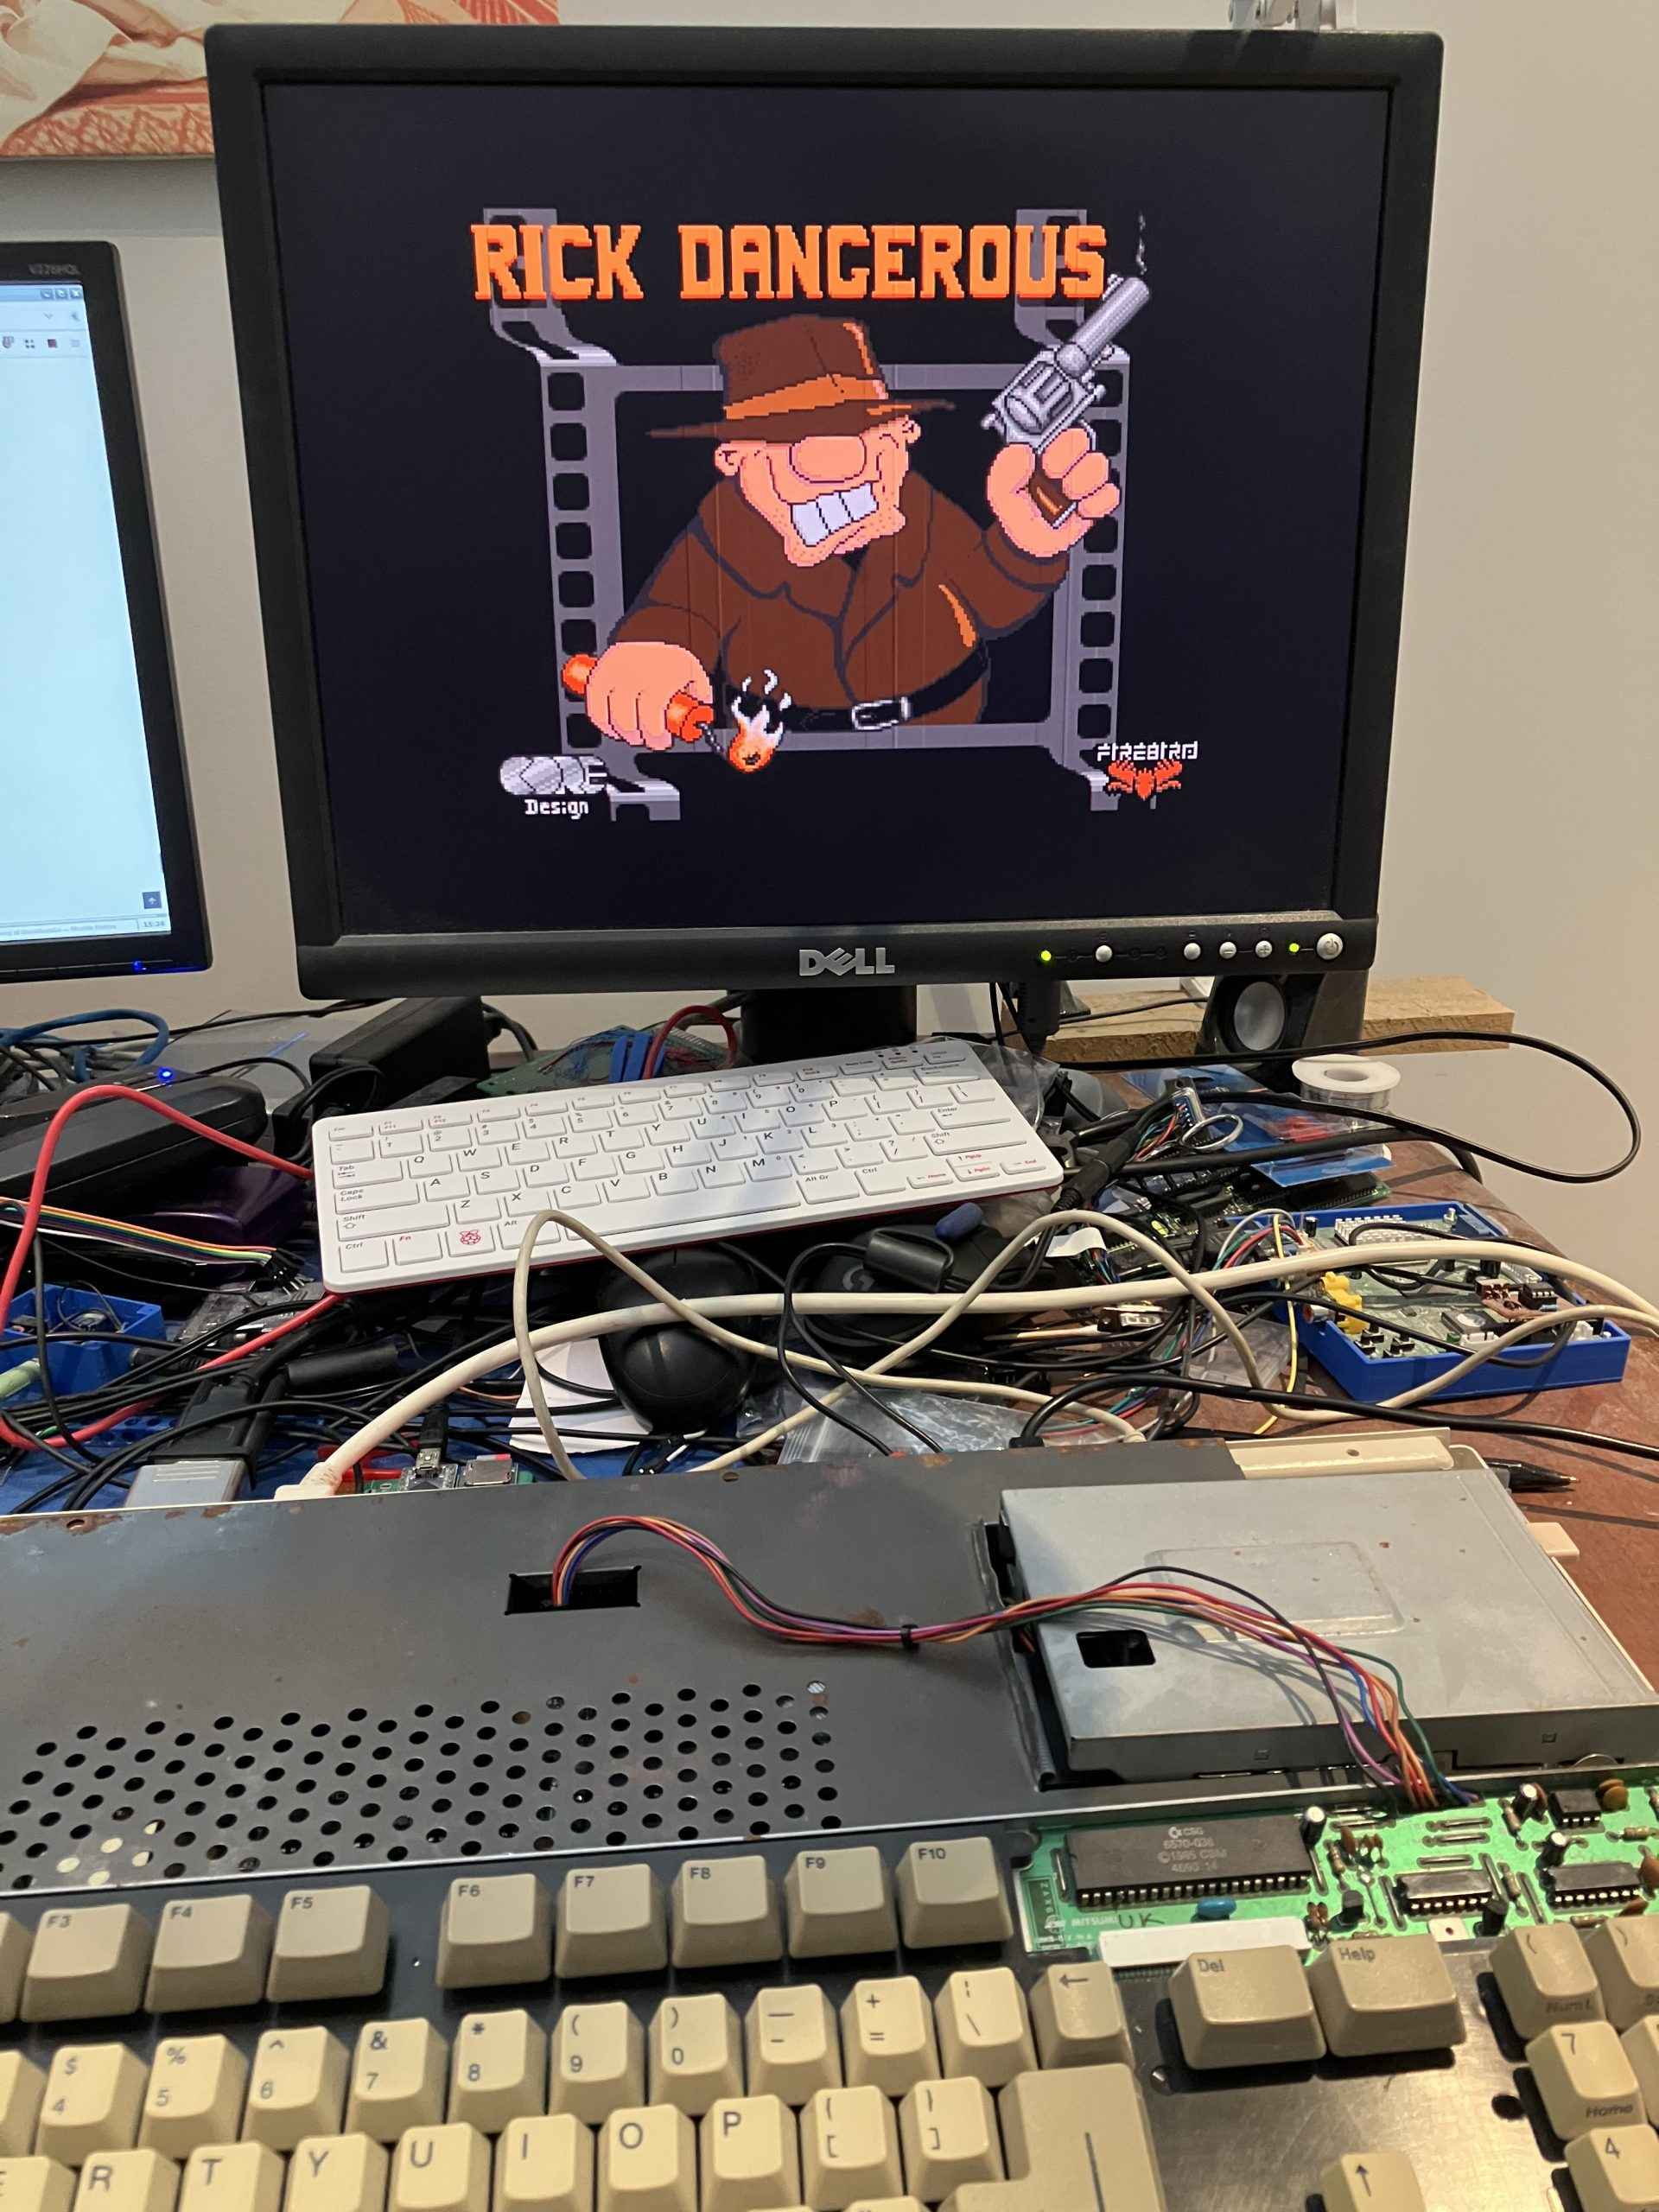
And the obligatory WHDLOAD shot (apologies for the mess)
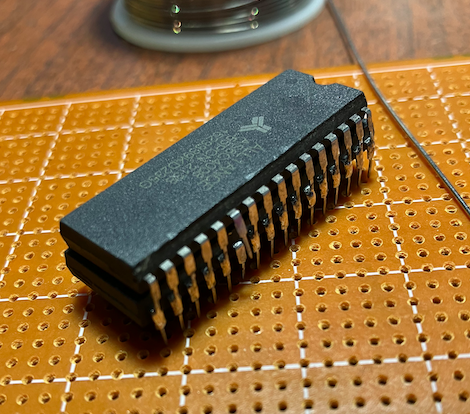
UPDATE: Piggybacking another 1MB
So I bought some more AS6C4008 chips off aliexpress … which are probably fake, but were very cheap … and do indeed work fine. As some sort of homage to Talking Electronics Issue 12, I will add another 1MB of ram by piggyback soldering another AS6C4008 on top of each AS6C4008 chip making sure pin 22 is not soldered to the chip underneath:
Then put the piggybacked pair in and wire up the other side of the 74LS32 in a similar fashion to how the first two chips were done. So one OR gate’s inputs have _UDS and the Y3 (_300000) 74LS138 output. And the other OR gate has _LDS and Y3. The outputs of each OR gate go to the chip select pins (p22) of the new AS6C4008 chips.
68 rounds of Amiga Test Kit later, and I now have 4MB total on this rev 5 Amiga 500 (512KB chip, 1.5MB ranger, and 2MB fast).