I spend a bit of time looking at ebay.co.uk in the ‘Vintage’ computer sections. The UK was really the centre of interesting 80s home computers … so there is a lot of variety. However I recently came across www.sellmyretro.com which is an auction site purely for the retro computing community. Not only are their old systems, but a lot of old parts and new parts especially expansions for older systems. Recently I noticed something called a ZXMore.
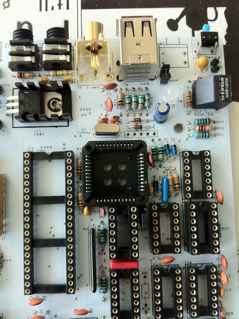
The ZXMore is a sort of re-imagining of the old Sinclair ZX80. Size wise, and form wise it looks like the old ZX80 (minus the case). It is compatible with the ZX80 … but it is essentially an enhanced version being also compatible with the ZX81 … and in future the ZX Spectrum (in monochrome) and CPM. Circuit-wise it’s not quite the same. It has a Z80 and a lot of DIP chips plus a CPLD, but instead of 1K of RAM, it has 512K of RAM. Instead of a 4K or 8K ROM, it has a 512K flash ROM. It has a USB interface (just for reflashing I think).
Anyway, it looked cool. I have fond memories of the ZX80 as it was the very first computer I ever used at 11 years old. My older brothers had gone ‘halves’ to buy one for around AUD$300. I must have learnt BASIC on it before venturing off with other computers. Interestingly, the brothers’ ZX80 had wires hanging off it from an early stage. I remember it being hooked up to breadboards, and helping my brother type in the Hex codes for the DREAM 6800 EPROM as the ZX80 had been repurposed into an EPROM programmer.
So the ZXMore was being sold as a ‘solder it yourself’ kit (the original ZX80 was also sold as a kit or preassembled). Putting it together sounded like fun. Something I could get my 4 year old to help with (not the soldering, but putting components in, and following the instructions).
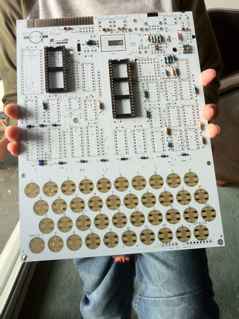
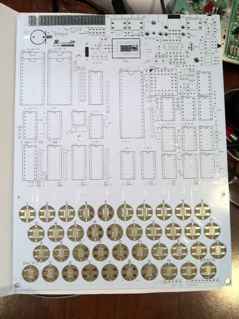
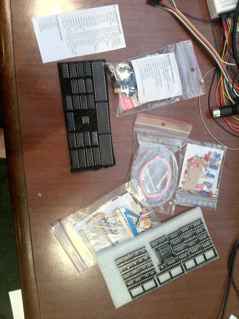
So the kit turned up a few weeks back (very promptly delivered). As I’m building it with my 4 year old it’s taking a lot longer to put it together … but I’m quite enjoying the drawn out build process. Here’s the main board below minus all parts. It has a really nice white solder mask. There are German and English instructions, and they are really good instructions. Obviously written by someone who cares. All the parts come bagged with nice little printouts in the bags with highly useful things like resistor colours, capacitor markings and so on. The guy who made this kit has gone to a lot of effort.
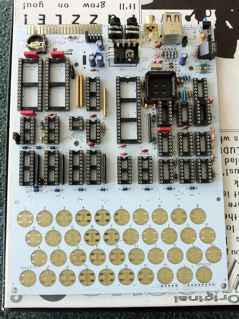
So we’ve almost completed it. Just really the chips left to put in and put all the switches in for the keyboard (there are two keyboard options for the kit. I bought the deluxe option that has individual keyswitches below the blue plastic keyboard membrane)